Let’s create a new file (File>New) of 1920×1200px/72 dpi. Using the Paint Bucket Tool (G),give the new background layer black color.

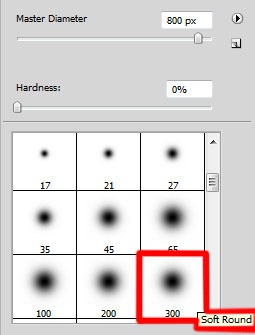
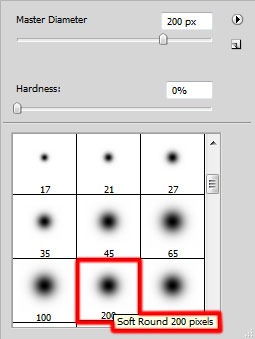
On a new layer (Create new layer) we’ll apply a standard brush to represent a spot on the central part of the picture. The brush’s color is #007EC7

Select the next option for the layer containing the spot:Filter>Distort>ZigZag
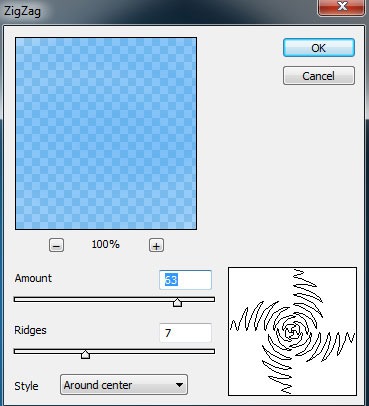

The layer’s parameters:Fill 54%

Next we’ll choose the Rectangle Tool (U) to represent three white lines which must be turned over with Free Transform option.
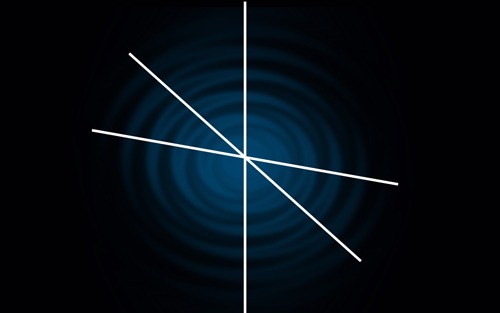
Those three layers with the white lines must be combined in a group (press Ctrl button to mark out the lines’ layers and hold on the left mouse’s button while moving the marked layers on (Create a new group selection).
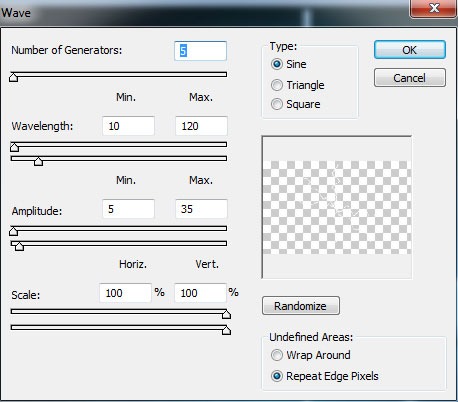
Mark out the group now and then press CTRL+E. On the rasterized layer we’ll apply the next option: Filter>Distort>Wave

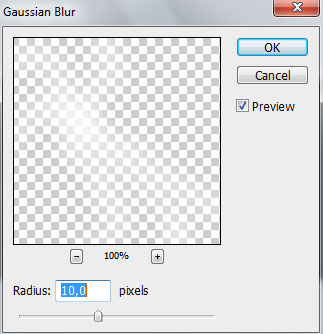
On the same layer we need to apply also Filter>Blur>Gaussian blur

Set the next parameters for the layer by clicking on the same layer on the layers’ panel: Blending mode-Overlay : Fill 44%
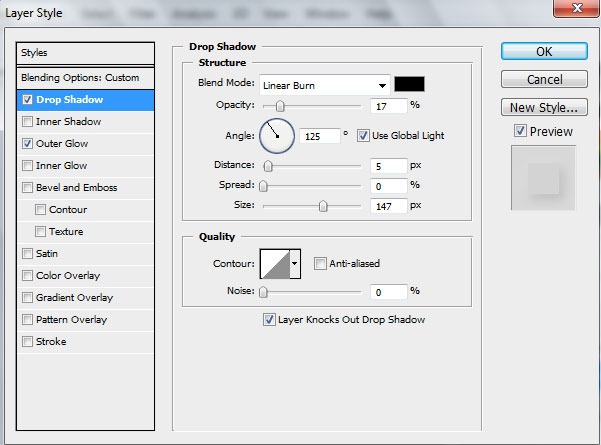
Blending Options>Drop Shadow
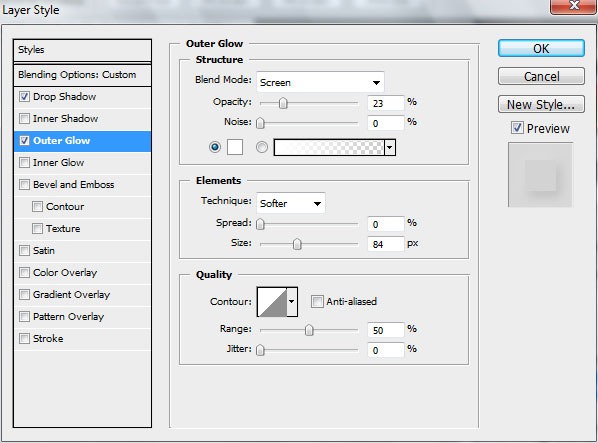
Blending Options>Outer Glow

Make a copy of the recently made layer and chooseFree Transform option to turn over the copy the same way demonstrated on the picture.

Now we need to represent a new layer (Create new layer), applying here a standard brush to paint the new layer in two colors (on the top part we’ll choose the green color,on the bottom – the blue one) (Opacity 10%).

Leave a Reply