Step 1: Open a new flash file. Choose Window > Properties from the main menu bar to open the PROPERTIES panel.
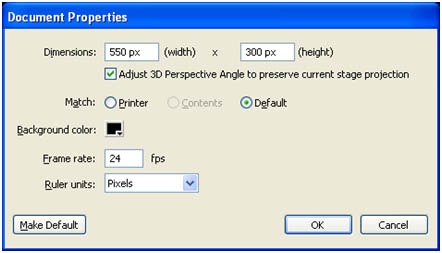
Step 2: Expand the Properties section in the panel and choose the Edit button to enlarge the Document Settings window. Next, set the width to 550 pixels and height to 300 pixels in the
PROPERTIES panel, as shown in Figure below. Choose the Ok button.
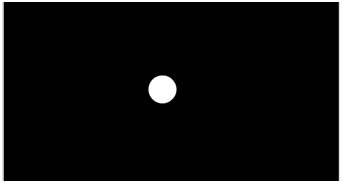
Step 3: Now we need to draw an oval for masking. Select the Oval tool from tools. Draw an circle in the document.
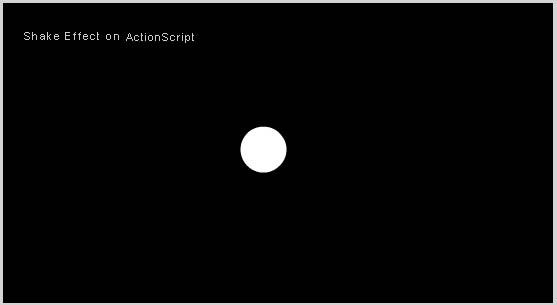
Step 4: Fill the color (#99FFFF) inside the oval. And name the document on left-top as shake effect on Action Script.
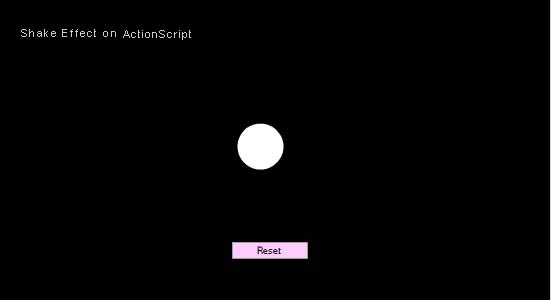
Step 5: Place the button on the document and give instance name it Reset as figure shown below.
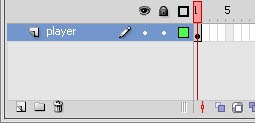
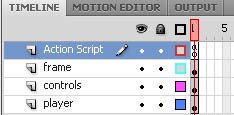
Step 6: Create a timeline for layer 1 and name it as player.
Step 7: Create another layer for controlling effects and named it as controls. And for frame select the rectangle tool from toolbar.
Step 8: Create a fourth layer for Performing Action Script.
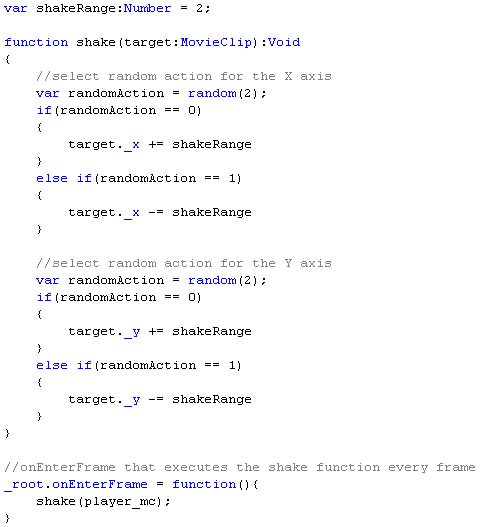
Step 9: Type the following Action Script in Layer-4(Action Script).
Step 10: Import shake effect images to library. Images name should be same as in library and script. Go to library panel and right click on each image. Choose Properties à Linkage. Check the “Export for Action script” option. And run the program.

Leave a Reply