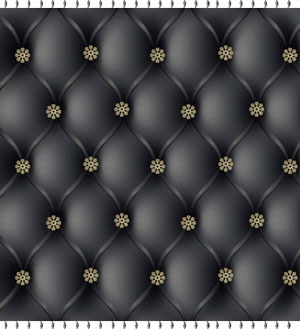
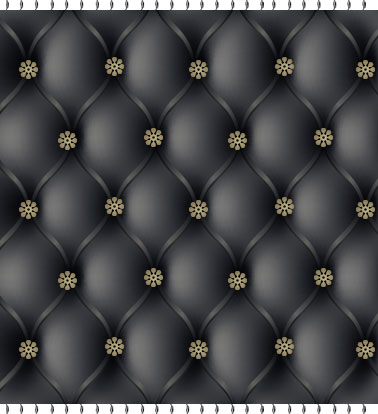
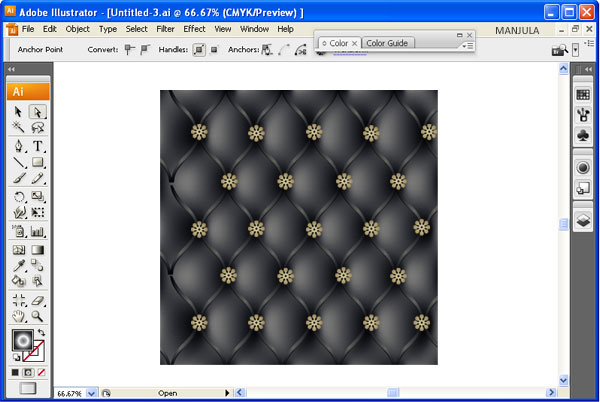
Final preview:
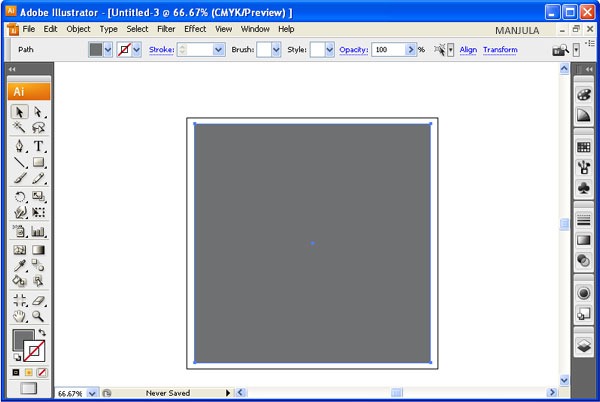
Step-1 Draw a rectangle in an illustrator document and fill gray like color.
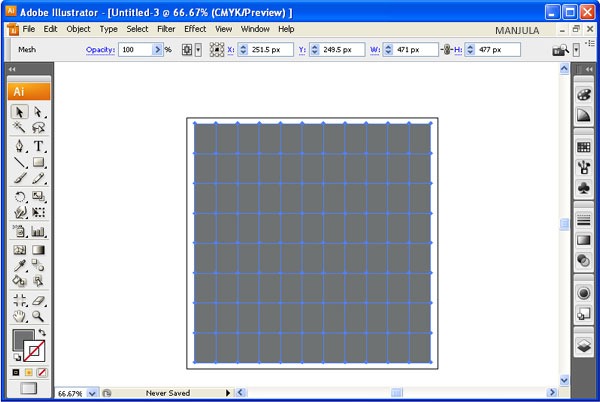
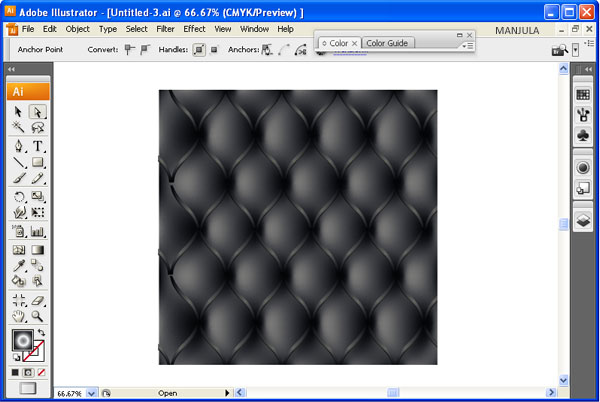
Step-2 Go to Object > Create Gradient Mesh and give the number of rows and columns you required.
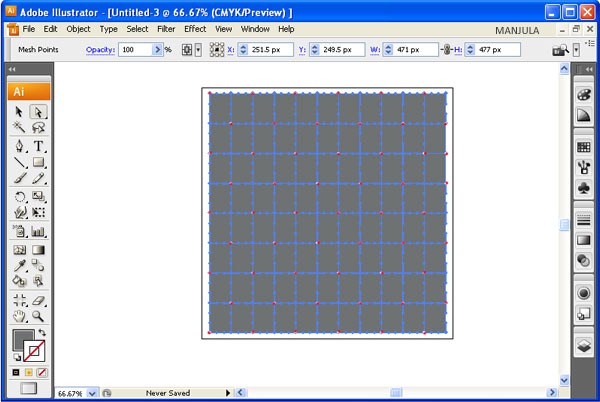
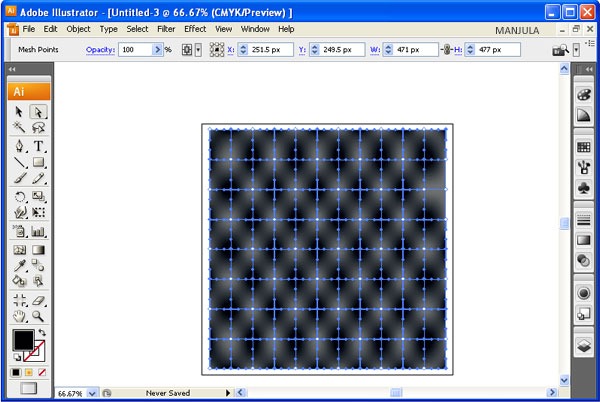
Step-3 Select the nodes of the mesh in checker wise direction using direct selection tool.
Step-4 Change the color of the nodes to dark gray.
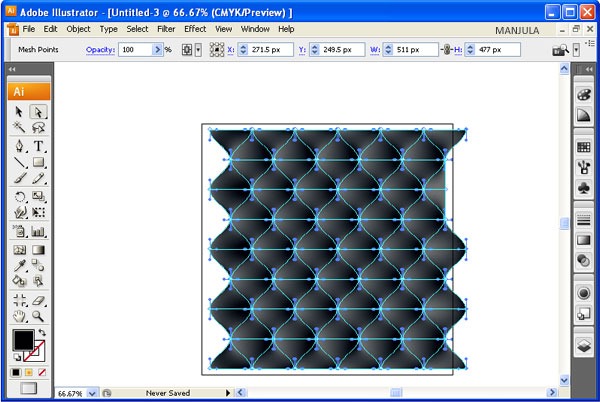
Step-5 Don’t leaves the selection of nodes. Go to Object > Transform > Move.
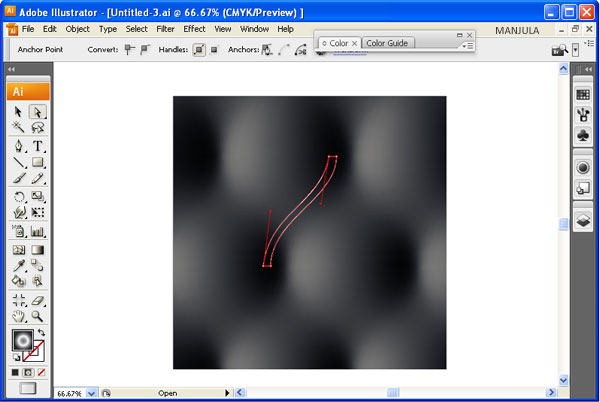
Step-6 Create a line using pen tool as shown below.
Step-7 fills it with gradient colors of black shades.
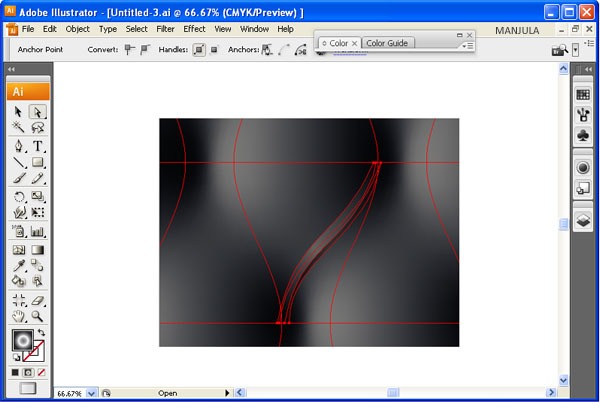
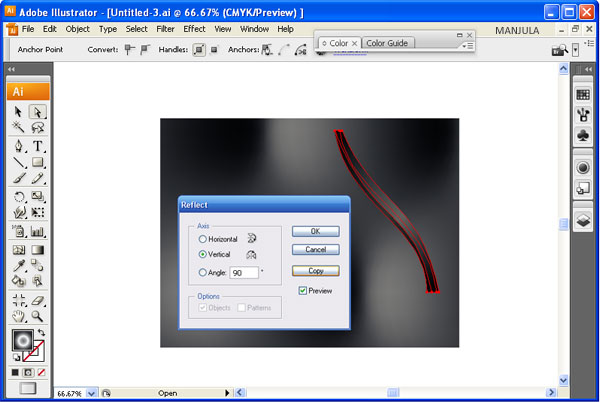
Step-8 Go to Object > Transform > Reflect and hit the Copy button.
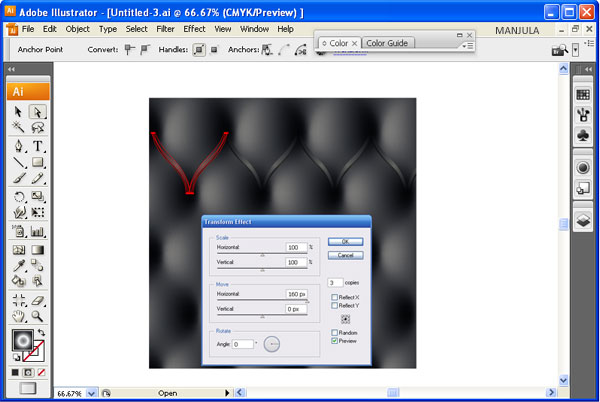
Step-9 Go to Effect > Distort & Transform > Transform and set the parameters as shown below.
Step-10 Duplicate the line and cover the entire upholstery.
Step-11 Draw a rectangle in the size of upholstery. Select all the objects and go to Object > Clipping Mask.
Step-12 Decorate it with ornamental nails.
Leave a Reply