Step:1
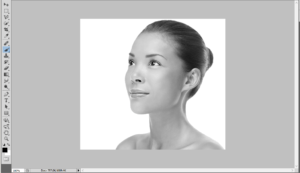
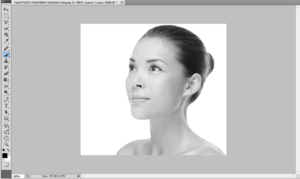
Open the Photo document in Photoshop. Go to channels .In Channels make a Copy of the blue layer by Pressing Ctrl+j
Step:2
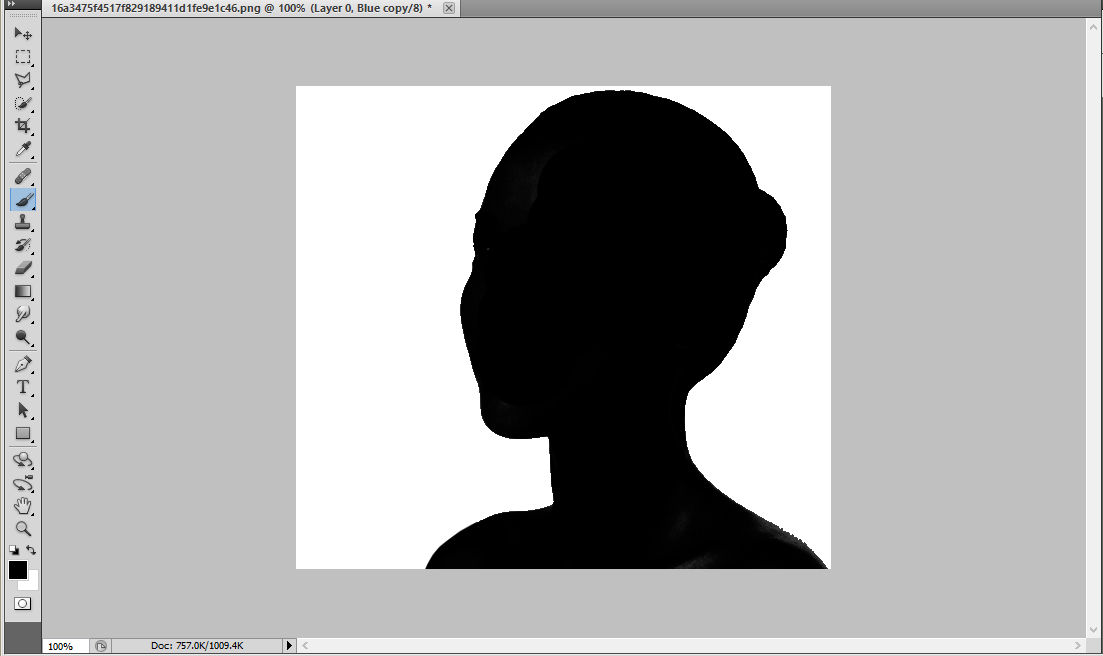
By Keeping in blue layer Go to adjustments-> levels and make the adjustments.Then make the black color as foreground and use the brush tool to color the image.
Step:3
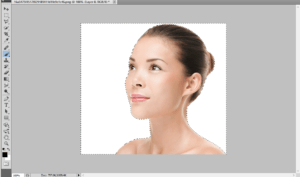
Now turn off the blue layer in that channel. Then go to image-> adjustment -> Inverse. Make a Copy of that Layer.Make the background as white.
Step:4
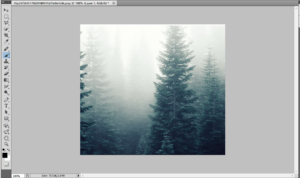
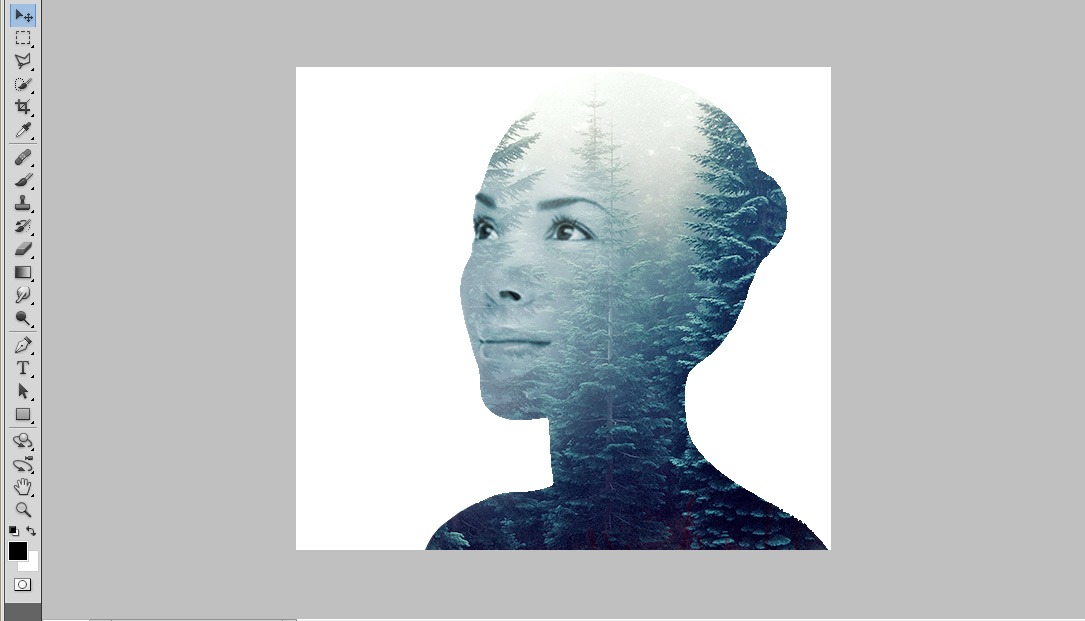
Now open the Forest image in Photoshop and Place that image above these two layers.Press Ctrl in that original image and add a layer mask to that above forest image.
Step:5
Now make a Copy of that girl image and Place above these. Go to Image-> adjustments -> De saturate. now change the blending modes to multiply.
Step:6
Add a layer mask to it and make some adjustments using black brush. Open the forest image and go to blur -> Motion blur and make the adjustments and add a layer mask to it. Reduce the opacity to 40%.






Leave a Reply