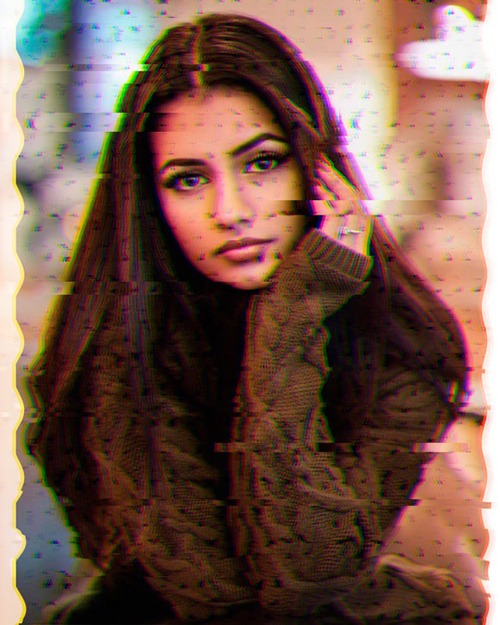
Glitch Effect
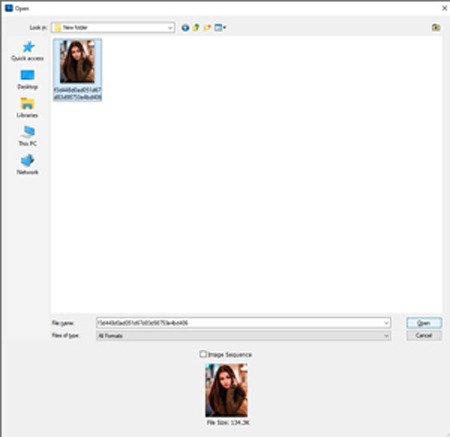
Step:1
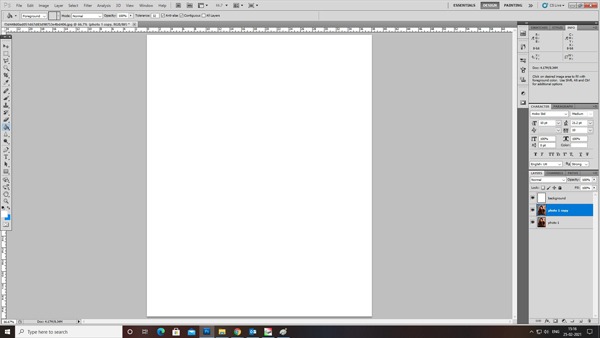
To insert image in the workspace click file->select open and select the image
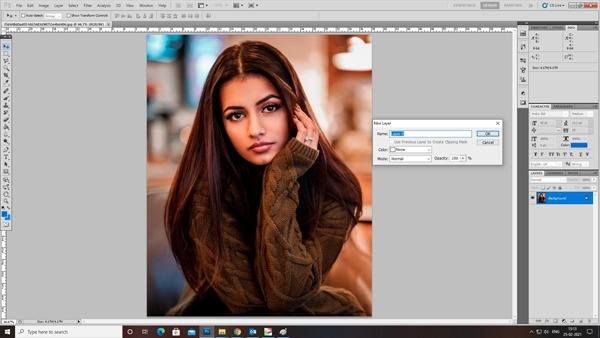
Step:2
Double click the background layer and rename it as photo 1
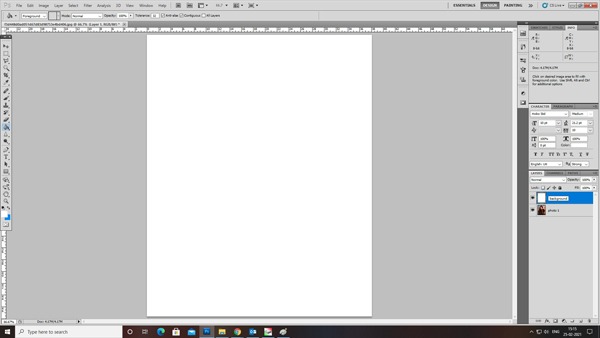
Step:3
Create a new layer and click on to paint bucket tool and select white color.

Step:4
Name that layer as background
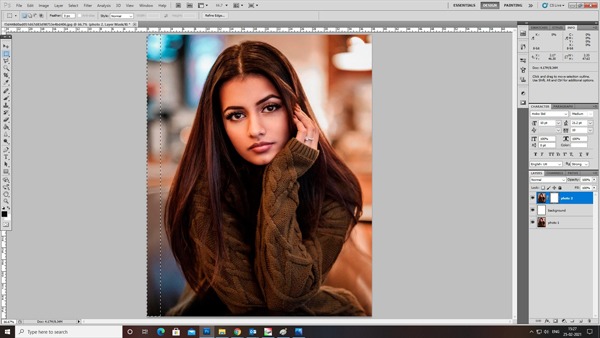
Step:5
Click ctrl+j on photo 1 layer to create a copy.
Step:6
Drag it to the background layer and name it as photo 2

Step:7
Add layer mask to photo 2 layer

Step:8
Use rectangular marquee tool to make a selection on the corners
Step:9
Select the paint bucket tool and fill the selection with the black color
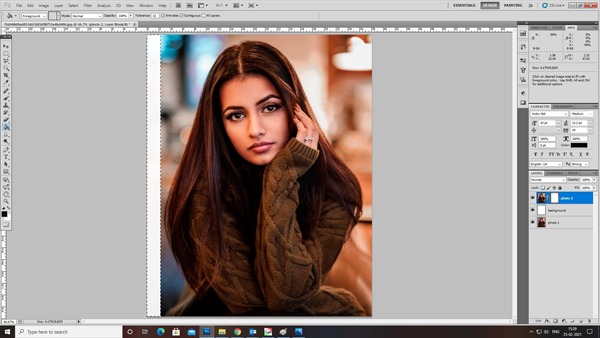
Step:10
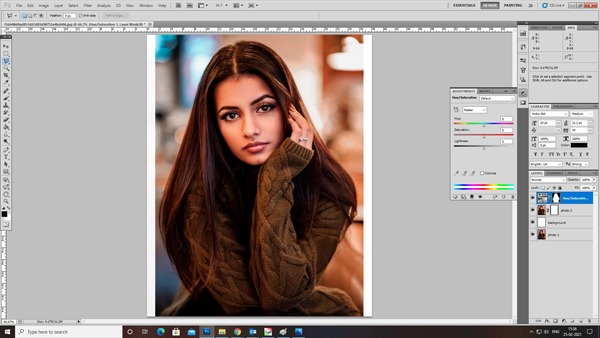
Place the photo in center

Step:11
Now select the polygonal lasso tool and create a selection around your subject
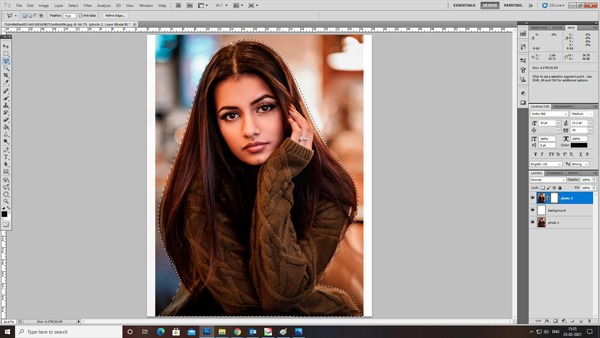
Step:12
Then add a new adjustment layer hue and saturation
Step:13
Hold the ctrl key and select layer mask for new adjustment

Step:14
The switch back to lasso tool and right click on the select inverse
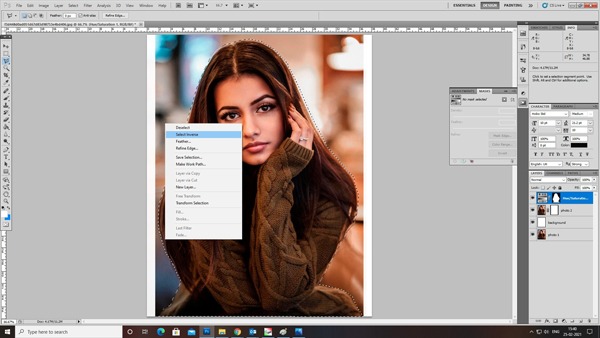
Step:15
Add hue and saturation layer
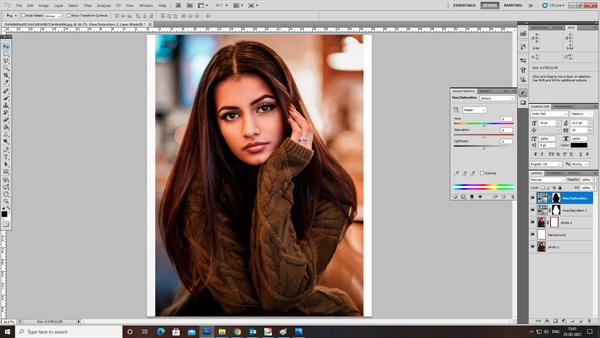
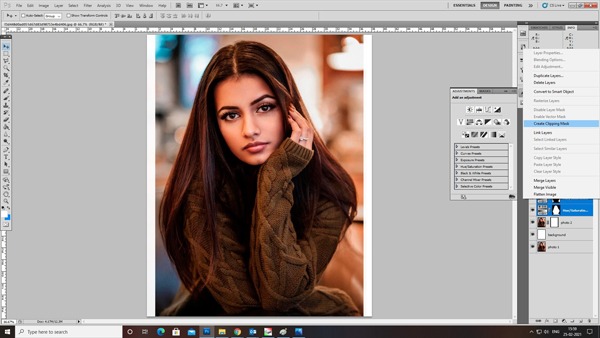
Step:16
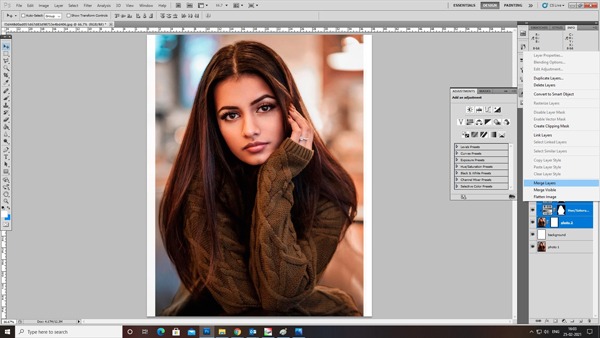
Then select both the layers and click create clipping mask. So that you can adjust the background and the subject color separately
Step:17
After adjusting the color select the photo 2 layer and hue & saturation layers to merge layers
Step:18
Click ctrl+j on hue/Saturation 2 layer to create a copy and rename it as 1 and 2
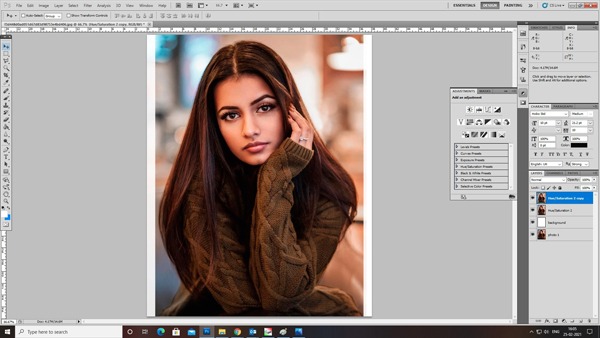
Step:19
Select rectangular marquee tool to select few area of your subject

Step:20
Select move tool and click right arrow key few times to get a wavy effect and Merge layer 1 and 2
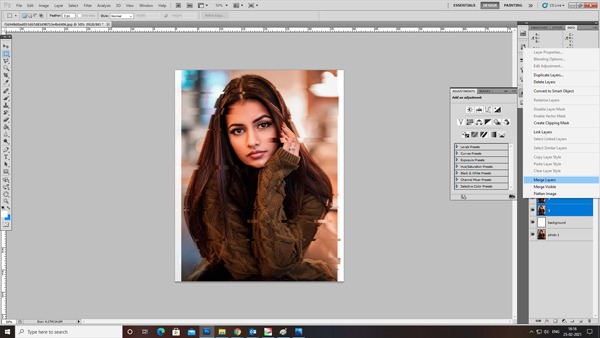
Step:21
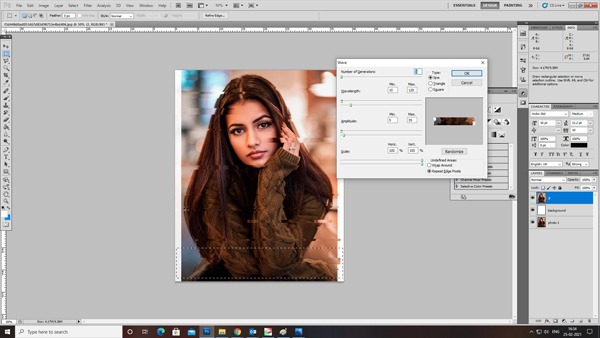
To get a wavy glitches Select rectangular marquee tool and select some larger portion

Step:22
Click Filter-> Distort->Wave
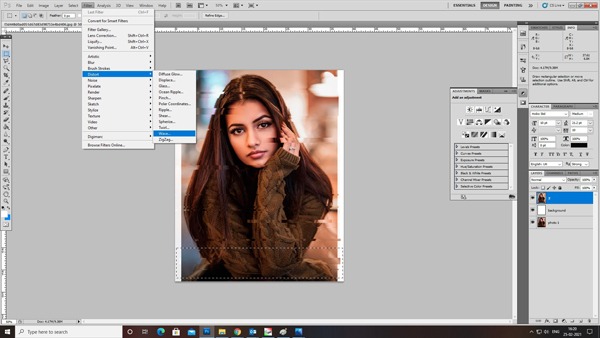
Step:23
Do the adjustment and click okay to get the wavy effect
Step:24
To add pattern right click on the 2 layer and go to blending option
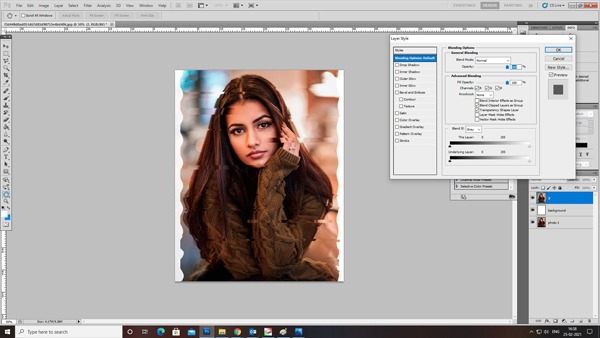
Step:25
Go to pattern overlay and select the pattern mode to linear burn then click okay

Step:26
And create a copy of layer 2

Step:27
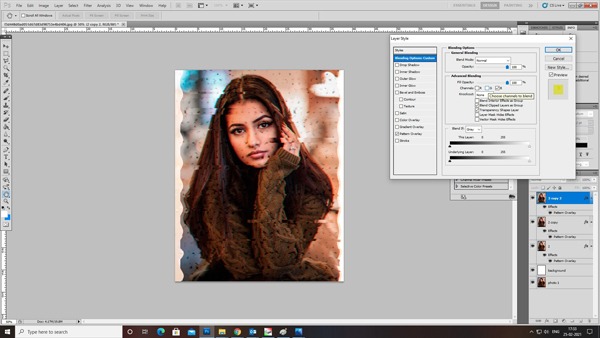
To create 3D effect select the layer and go to the blending option and uncheck the channel R(red). Then select move tool and click right arrow key few times

Step:28
Create a copy of previous step layer and repeat the same as 27th step, but for this layer uncheck the channel R(red) and G (green) and click left arrow key few times
Leave a Reply