Step:1
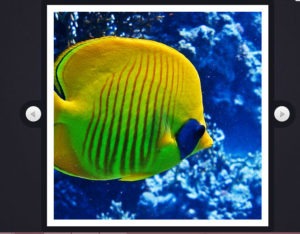
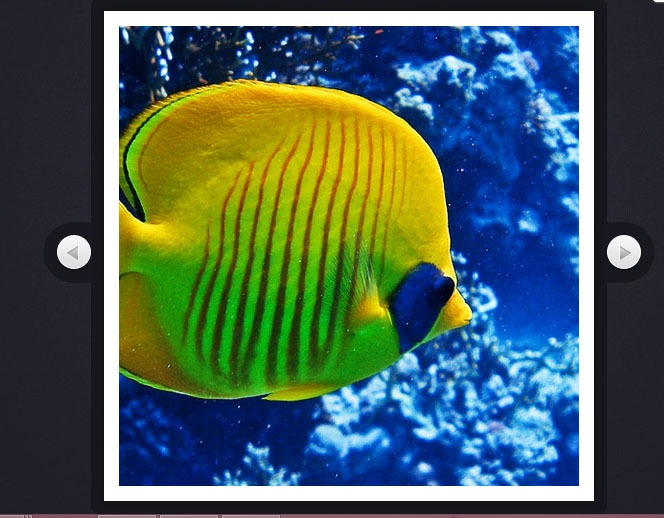
First we are going to lay down the Html markup of the slideshow. #slideShowContainer div is the main container element which holds the #slideShow div.
<!DOCTYPE html>
<html>
<head>
<meta http-equiv=”Content-Type” content=”text/html; charset=utf-8″ />
<title>Rotating Slideshow With jQuery and CSS3 | Tutorialzine Demo</title>
<link rel=”stylesheet” type=”text/css” href=”css/styles.css” />
</head>
<body>
<div id=”slideShowContainer”>
<div id=”slideShow”>
<ul>
<li><img src=”img/photos/1.jpg” width=”100%” alt=”Fish” /></li>
<li><img src=”img/photos/2.jpg” width=”100%” alt=”Ancient” /></li>
<li><img src=”img/photos/3.jpg” width=”100%” alt=”Industry” /></li>
<li><img src=”img/photos/4.jpg” width=”100%” alt=”Rain” /></li>
</ul>
</div>
<a id=”previousLink” href=”#”>»</a>
<a id=”nextLink” href=”#”>«</a>
</div>
<script src=”https://ajax.googleapis.com/ajax/libs/jquery/1.4.4/jquery.min.js“></script>
<script src=”js/jquery.rotate.js”></script>
<script src=”js/script.js”></script>
</body>
</html>
We included the jQuery library, our own script script.js file and the jquery rotate plugin.
Step:2
We can see the styling of the slideshow below:
Step:3
Now iam using the jQuery rotate Plugin as it integrates with the animate( ) and css () methods of the library. we are using using jQuery’s.$.Support object to test whether the visitor’s browser supports CSS3 transformations.
Script.js-part1
#slideShowContainer{
width:510px;
height:510px;
position:relative;
margin:120px auto 50px;
}
#slideShow{
position:absolute;
height:490px;
width:490px;
background-color:#fff;
margin:10px 0 0 10px;
z-index:100;
-moz-box-shadow:0 0 10px #111;
-webkit-box-shadow:0 0 10px #111;
box-shadow:0 0 10px #111;
}
#slideShow ul{
position:absolute;
top:15px;
right:15px;
bottom:15px;
left:15px;
list-style:none;
overflow:hidden;
}
#slideShow li{
position:absolute;
top:0;
left:0;
width:100%;
height:100%;
}
#slideShowContainer > a{
border:none;
text-decoration:none;
text-indent:-99999px;
overflow:hidden;
width:36px;
height:37px;
background:url(‘../img/arrows.png’) no-repeat;
position:absolute;
top:50%;
margin-top:-21px;
}
#previousLink{
left:-38px;
}
#previousLink:hover{
background-position:bottom left;
}
a#nextLink{
right:-38px;
background-position:top right;
}
#nextLink:hover{
background-position:bottom right;
}
Step:4
In second part, the fragment that is executed only in browsers that do not support css3 transformations.The most important is update z-index( ),as otherwise the slides would be displayed in reverse order.
Script.js-part2
$(document).ready(function(){
var slideShow = $(‘#slideShow’),
ul = slideShow.find(‘ul’),
li = ul.find(‘li’),
cnt = li.length;
// As the images are positioned absolutely, the last image will be shown on top.
// This is why we force them in the correct order by assigning z-indexes:
updateZindex();
if($.support.transform){
// Modern browsers with support for css3 transformations
li.find(‘img’).css(‘rotate’,function(i){
// Rotating the images counter-clockwise
return (-90*i) + ‘deg’;
});
// Binding a custom event. the direction and degrees parameters
// are passed when the event is triggered later on in the code.
slideShow.bind(‘rotateContainer’,function(e,direction,degrees){
// Zooming in the slideshow:
slideShow.animate({
width : 510,
height : 510,
marginTop : 0,
marginLeft : 0
},’fast’,function(){
if(direction == ‘next’){
// Moving the topmost image containing Li at
// the bottom after a fadeOut animation
$(‘li:first’).fadeOut(‘slow’,function(){
$(this).remove().appendTo(ul).show();
updateZindex();
});
}
else {
// Showing the bottommost Li element on top
// with a fade in animation. Notice that we are
// updating the z-indexes.
var liLast = $(‘li:last’).hide().remove().prependTo(ul);
updateZindex();
liLast.fadeIn(‘slow’);
}
// Rotating the slideShow. css(‘rotate’) gives us the
// current rotation in radians. We are converting it to
// degrees so we can add +90 or -90.
slideShow.animate({
rotate:Math.round($.rotate.radToDeg(slideShow.css(‘rotate’))+degrees) + ‘deg’
},’slow’).animate({
width : 490,
height : 490,
marginTop : 10,
marginLeft : 10
},’fast’);
});
});
// By triggering the custom events below, we can
// show the previous / next images in the slideshow.
slideShow.bind(‘showNext’,function(){
slideShow.trigger(‘rotateContainer’,[‘next’,90]);
});
slideShow.bind(‘showPrevious’,function(){
slideShow.trigger(‘rotateContainer’,[‘previous’,-90]);
});
}


Leave a Reply