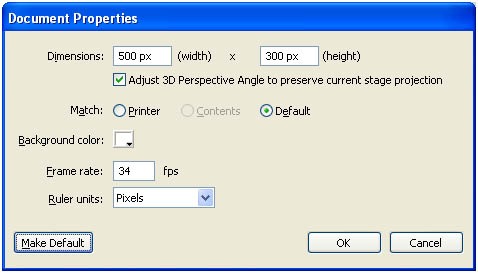
Step 1: open a new flash file. Set the width to 500 pixels and height to 300 pixels. Choose window -> properties from main menu bar, the properties panel is displayed.
Step 2: choose the Edit button under the properties tab to display the document settings window. Set the width to 500px and height to 300px and click ok button to set the stage size.
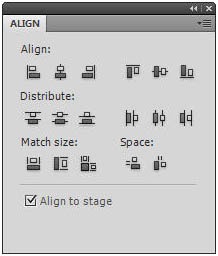
step 3: Choose file -> import -> import to stage from the main menu, the ALIGN panel will be appear as like the figure below.
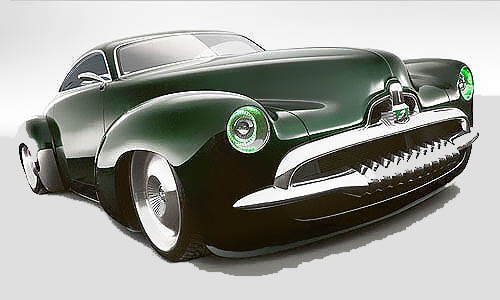
Step 4: select the image and then select the Align to stage checkbox from the ALIGN panel. And select the second button from left under the ALIGN and the distribute area. Image will be displayed to stage.
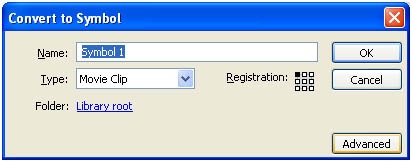
Step 5: Then convert the images into symbol, choose Modify -> Convert to Symbol from the main menu bar, the Convert to Symbol window is displayed; as shown in Figure below. Rename the movie clip as car and choose the OK button.
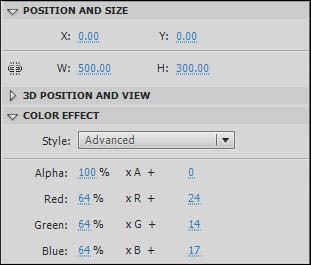
Step 6: select the car movie clip, and then choose Window -> Properties from the main menu bar to display the PROPERTIES window. Maximize the COLOR effect tab and select Advanced from the Style drop-down list. Enter the values as shown in the figure below.
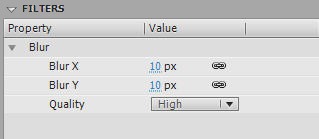
Step 7: Now select the movie clip and expand the FILTERS tab from the PROPERTIES window and add Blur filter to it with the values as shown below.
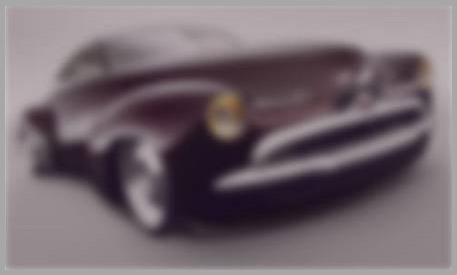
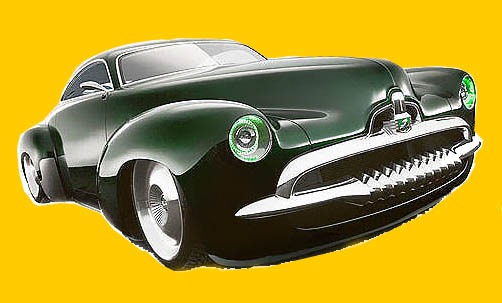
Step 8: After adding the properties, the car movie clip will appear as shown in Figure below. Now set the background effect for the car, and then rename the layer as background effect.
Step 9: Create a new layer and name it as blending, and then drag the car image from the library, place it exactly over the stage area. Make it as a movie clip symbol with the name car-blending.
Step 10: Maximize the DISPLAY tab to select Hard Light blending option from the Blending drop down list. Before that make sure, whether PROPERTIES panel is displayed and the car-blending movie clip is selected.
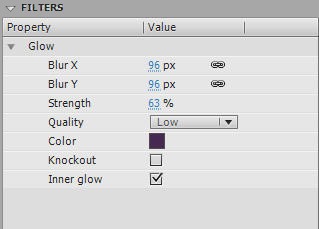
Step 11: maximize the FILTERS tab and add the Glow filter to the car-blending movie clip. To get the desired effect set the parameters in the FILTER tab.
Step 12: For the Color parameter in the Glow filter type use the hex value as #462953.
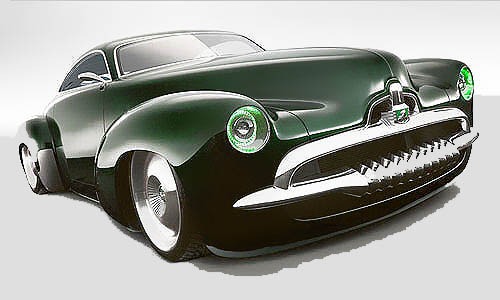
Step 13: On adding the glow filter to the car-blending movie clip the car on the stage area will be displayed as
Step 14: Create a new layer with the name lightening, and then choose Insert -> New Symbol from the main menu bar to create a new symbol. And then rename the new symbol to lightning and set the symbol type to Movie clip and choose the OK button. Now a blank new movie clip is created.
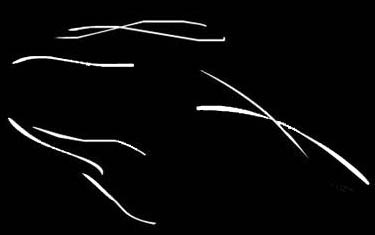
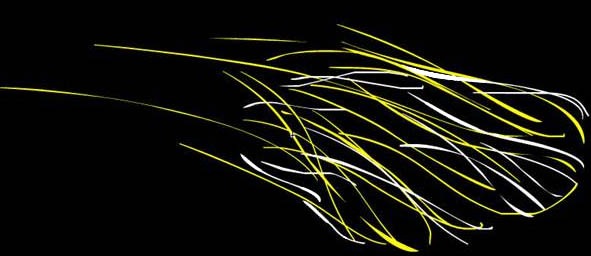
Step 15: Choose the Brush Tool from the toolbar and create some brush strokes in the stage area as shown below
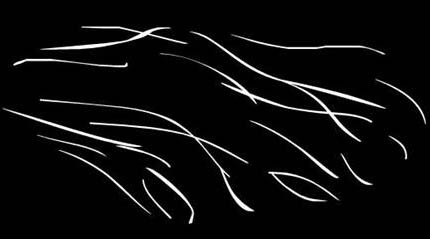
Step 16: Now, set a new keyframe on frame 7 and create some brush strokes as like the figure shown below.
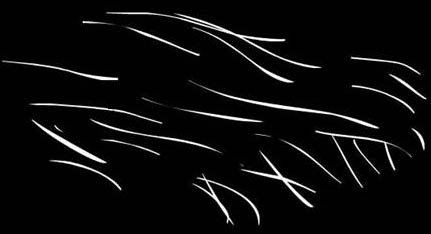
Step 17: Now, set a new keyframe on frame 15 and create some brush strokes as like the figure shown below.
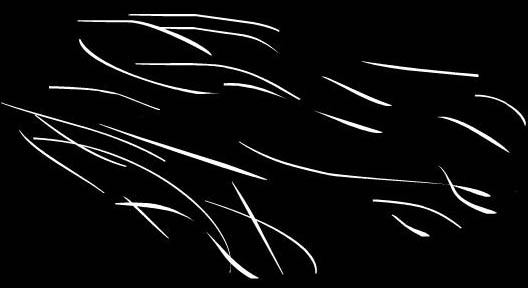
Step 18: Now, set a new keyframe on frame 22 and create some brush strokes as like the figure shown below.
Step 19: Now, set a new keyframe on frame 29 and create some brush strokes as like the figure shown below.
Step 20: Now, set a new keyframe on frame 29 and create some brush strokes as like the figure shown below. We can also add yellow color as the stroke color.
S
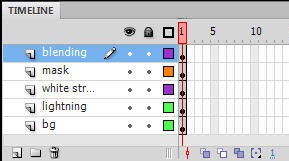
tep 21: Now, set the shape tweening between the all the keyframes. Then create a new layer, and then create random strokes which created on above with two colors with the position of the keyframes exactly at the same position and add shape tweening between the keyframes. The timeline is shown below.
Step 22: Now, add Blur Filter to the movie clip in the PROPERTIES panel and set the Blur X and Y values to 10 and Strength to High. Go back to the main stage and create a new layer. Create a blank movie clip with the name white strokes.
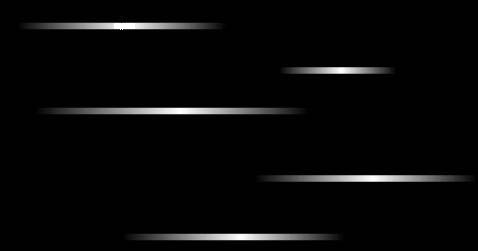
Step 23: Select the Rectangle Tool from the main menubar and create 5 rectangles randomly. Add linear gradient to it in the sequence transparent, white, and transparent, and then arrange them like a figure as shown below
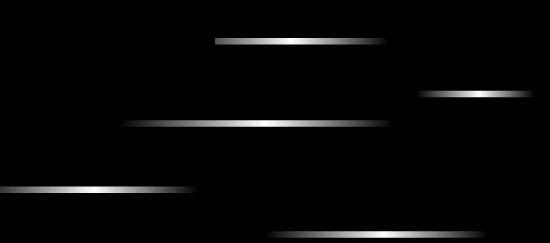
Step 24: Press F6 to create keyframe. Rearrange the rectangle streaks as shown below
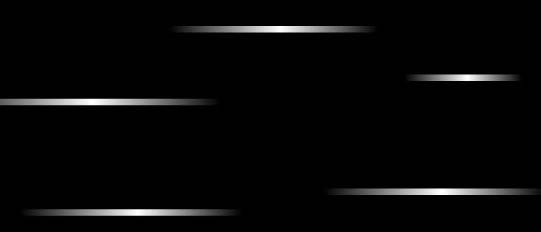
Step 25: Press F6 again to create keyframe. Rearrange the rectangle as shown below.
Step 26: Now, Go back to the main stage area and press CTRL + T to activate the TRANSFORM tab. set the rotate value to 20 degrees.
Step 27: Then, create a new layer and rename it as mask. Now create a sketch the image that is shown in the Figure below such that the car image can come exactly in between it.
Step 28: Next, make sure that the layers are placed exactly in its position as shown below
Step 29: Next, select the layer named mask and right click over it and choose the Mask option from the flyout to mask the underneath layer. Publish the file by pressing CTRL + ENTER to get the animation effect as like below
Step 30: Finally we animate the car to get more life into the animation.


Leave a Reply