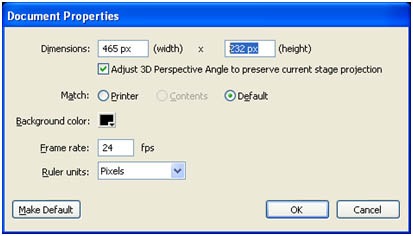
Step1: open a new flash file. Set the width to 465 pixels and the height to 232 pixels. And set frame rate to 24fps.
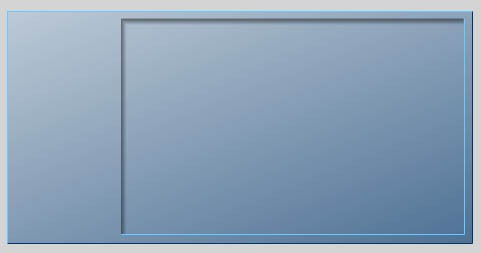
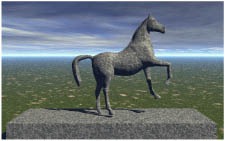
Step 2: By using the rectangle tool draw a rectangle. And import the image for background (file ->import -> import to stage) set as background image.
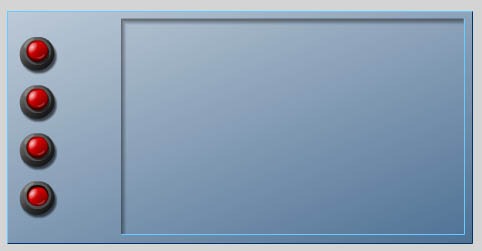
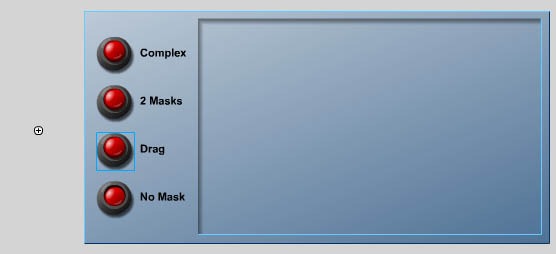
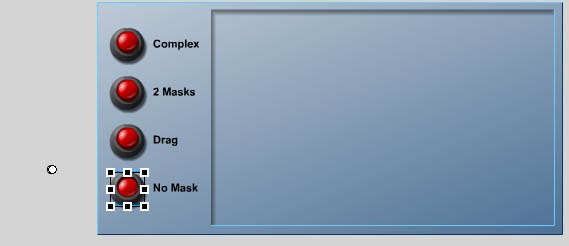
Step 3: Now, we need to place the buttons on left-side of the background image to perform action controls. Import the images from file menu. Place 4 buttons as figure shown below
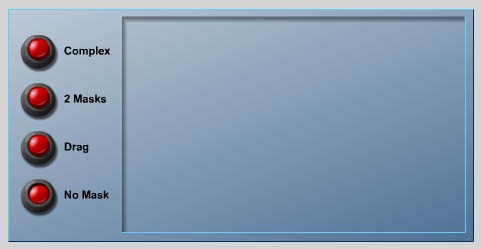
Step 4: Name the buttons for its relevant actions as shown below
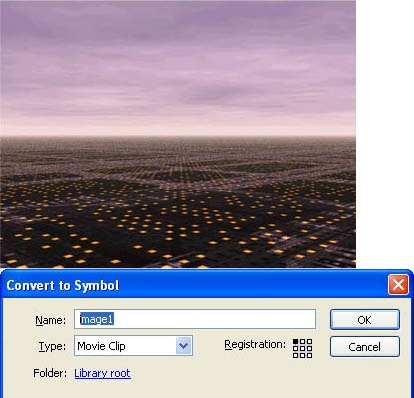
Step 5: To convert the image into a MOVIE CLIP (Movie Clip Symbol) called “background”, by pressing F8.
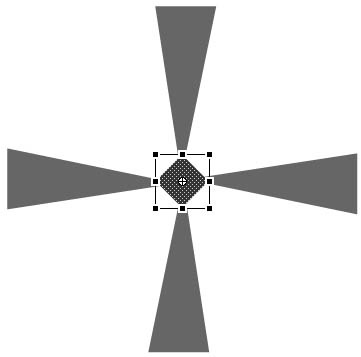
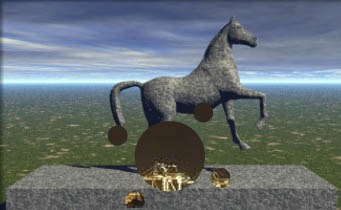
Step 6: Now we need to mask the feature for visually cropping display objects within a shape as image shown below.
Step 7: To convert the image into a MOVIE CLIP (Movie Clip Symbol) called “background”, by pressing F8.
Step 8: From the cropping image to mask the layer and perform some actionscript towards the masking as image shown below
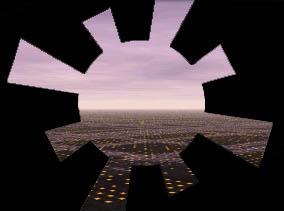
Step 9: The image should now be masking the image, as shown below.
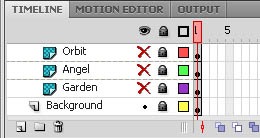
Step 10: create a timeline to demonstrate the following function.
Step 11: now we need to focus on second button i.e. mask. The process involves creating a shape and applying it to the “mask” property of another display object.
Step 12: Masks can stay stationary while the object is being masked move or masks can animate above the object to create transitions and special effects as shown below
Step 13: Now, create a new MOVIE CLIP (Insert > New Symbol) called “thumb0” and create 2 layers called “image” and “mask”. Drag the thumbnail thumb_0 on to the “image” layer, placing it at the position shown below.
Step 14: then the image will mask the two layers with the movie clip that has been shown in the following image.
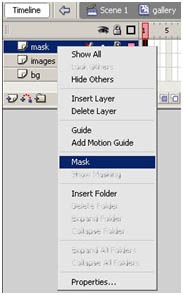
Step 15: Right click on the “mask” layer and chose “mask”.
Step 16: On the mask layer two layers have combined to perform the mask function as figure shown below.
Step 17: Then the image Holder MC and delete the image Movie Clip inside of it. This is because we will be adding the image dynamically with action script.
Step 18: Then the image Holder MC and delete the image MC inside of it. This is because we will be adding the image dynamically with action script as shown below.
Step 19: When all the thumbnails have been added, go back to the Movie Clip and give the thumb Holder Movie Clip the instance name “background”.
Step 20: Now we need to drag the mask on the right window. By using this drag mask we can able to drag the mouse cursor on the screen as figure shown below.
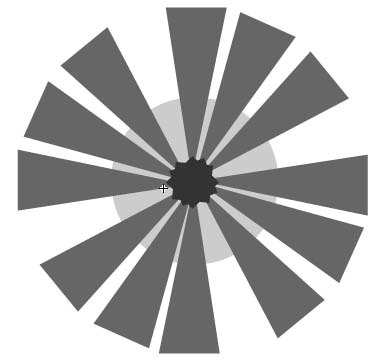
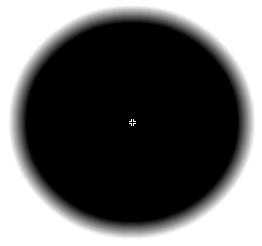
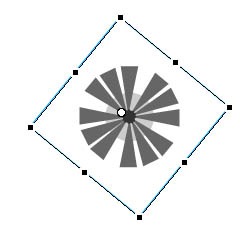
Step 21: Now we need to make spiral movie clip on the right window to mask the two given layer as the figure shown below.
Step 22: To create the mask frame to function the mask frame on the layer style as figure shown below.
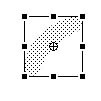
Step 23: To rotate the thumbnails with action script, the thumb Holder MC will be rotate so that each thumbnail doesn’t have to be rotated individually. Setting the registration point to the center makes sure the MC will rotate from the center. Press F8 to perform the action as figure shown below.
Step 24: Setting the registration point to the center makes sure the MC will rotate from the center. Press F8 to perform the action as figure shown below.
Step 25: Last layer to perform no function to be done to make the screen idle.
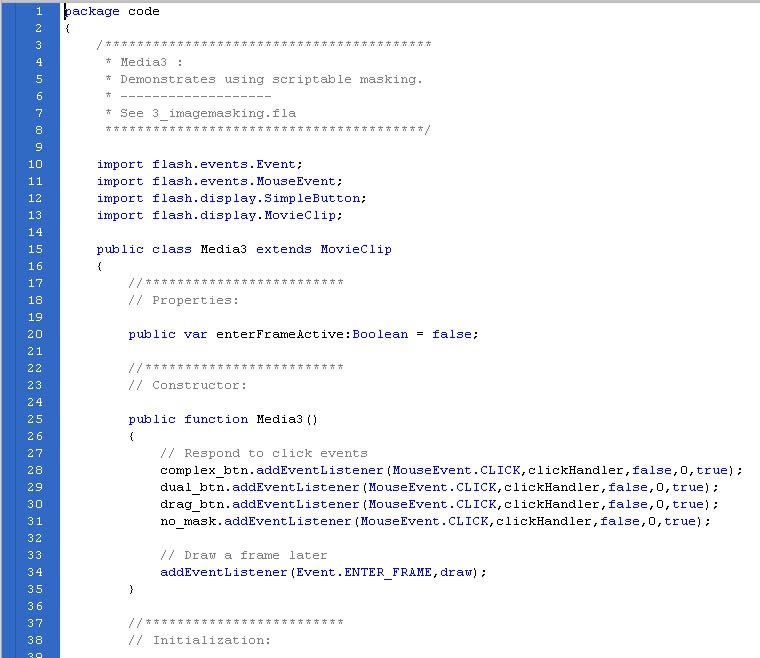
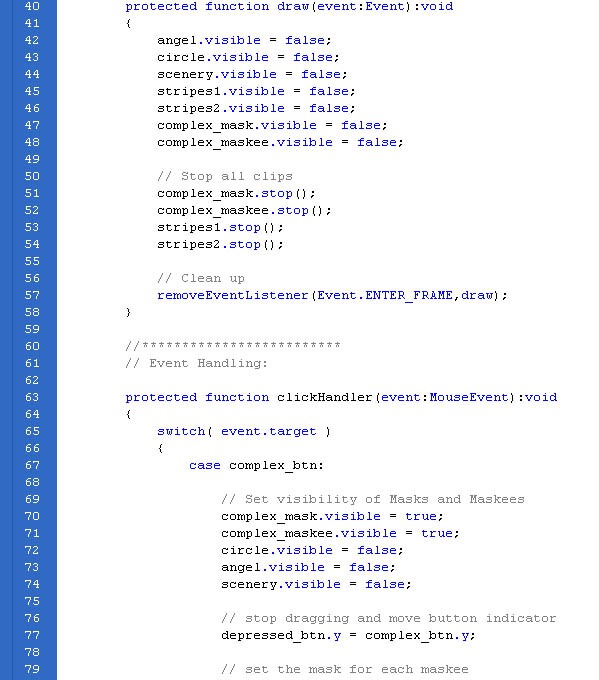
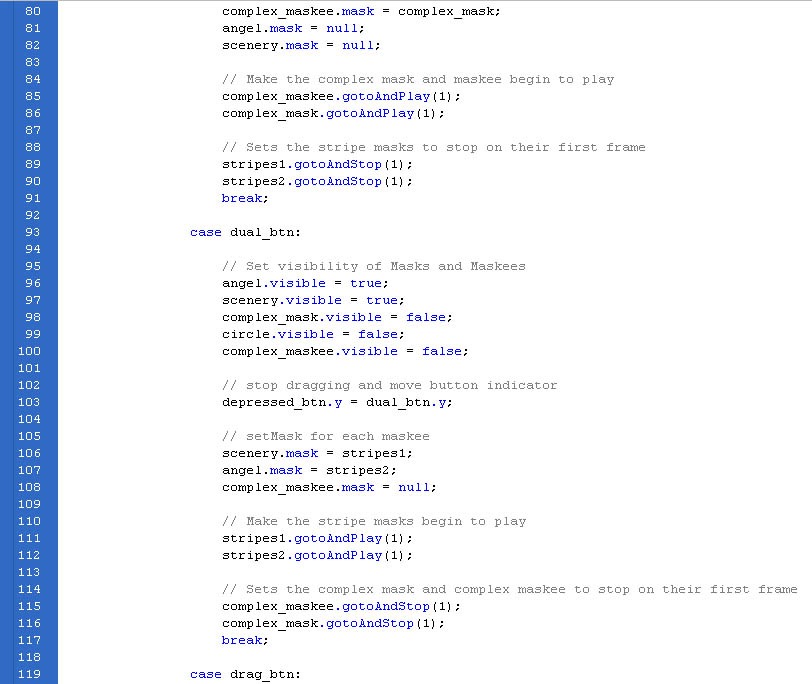
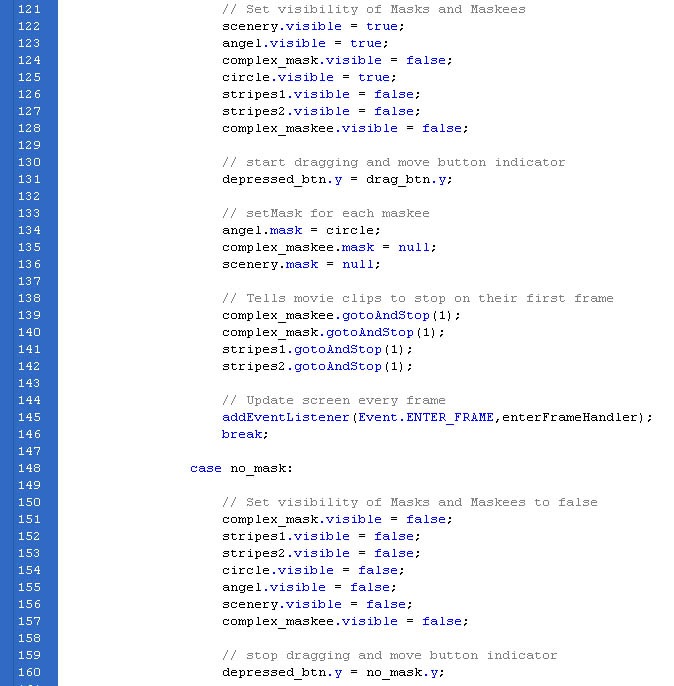
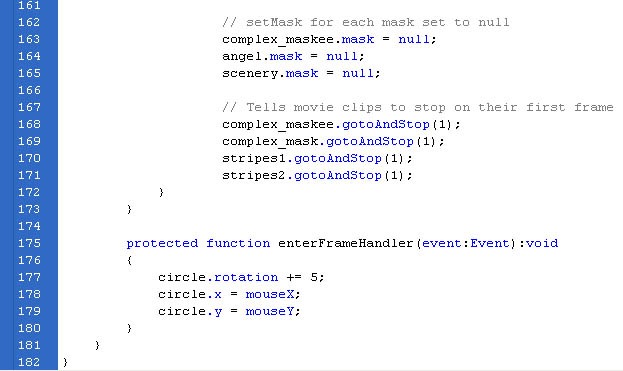
Step 26: Now we will use some action script. To make the thumbnails function and to rotate them around the main image.
Code 1:
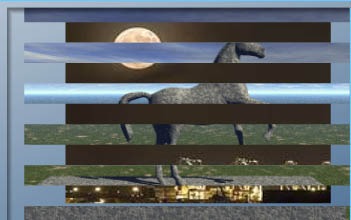
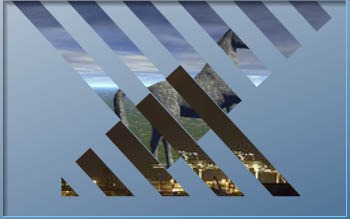
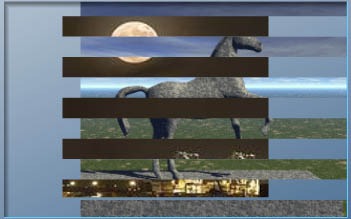
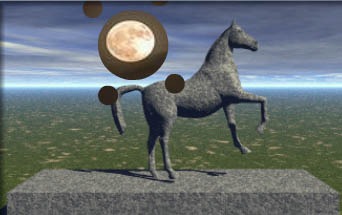
There are three types of masks which is displayed above flash file. Click the buttons to see the different effects.



Leave a Reply