Step 1: Open a new flash file. Choose Window > Properties from the main menu bar to open the PROPERTIES panel.
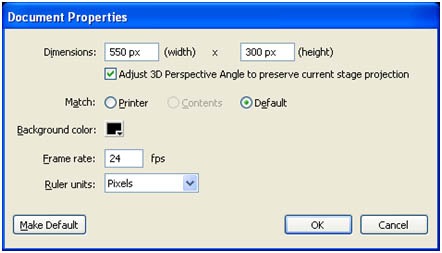
Step 2: Expand the Properties section in the panel and choose the Edit button to enlarge the Document Settings window. Next, set the width to 500 pixels and height to 358 pixels in the
PROPERTIES panel, as shown in Figure below. Choose the Ok button.
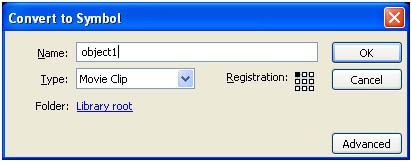
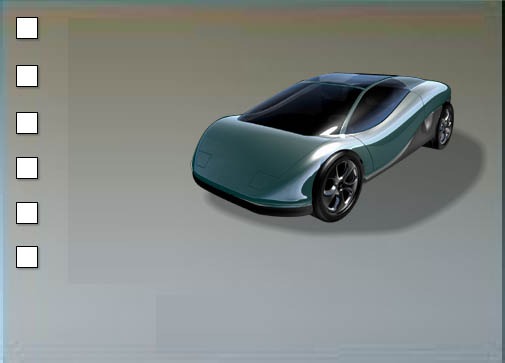
Step 3: Draw or import an object from the file. Then select the car and press F8(To convert into symbol) to convert into movie clip.
Step 4: While the object is still selected, go to the Properties Panel (Ctrl+F3) below the stage. On the left side, You will find the Instance name input field there. Call this Movie Clip as whatever you like. For this example, I will call my movie clip object1. See the picture below.
Step 5: Create a new layer above the objects layer and name it button.
Step 6: After that, create a four buttons (red, blue, brown and yellow, etc…). See the picture below.
Step 7: Take the selection tool (V) and click on the red button. Then, go again to the Properties Panel (Ctrl+F3) below the stage. On the left side, You will find the Instance name input field there. Call this button swatch1_btn. See the picture below.
Step 8: Do this also for every other button, but for red, type blue, brown….
Step 9: Create a new layer above the buttons layer and name it action.
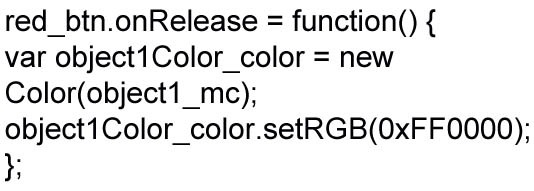
Step 10: Click on the first frame of layer action and go to the action script panel (F9). Then, enter this code inside the actions panel:
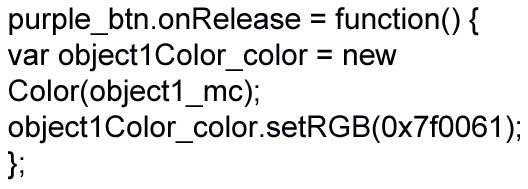
Code 1: this code is for purple color button
Code 2: this code is for red color button
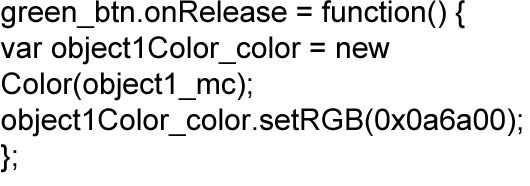
Code 3: this code is for green color button
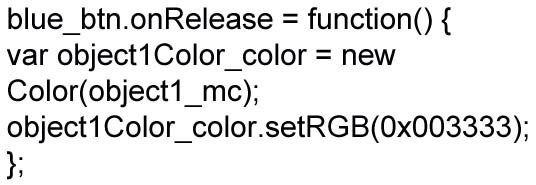
Code 4: this code is for blue color button
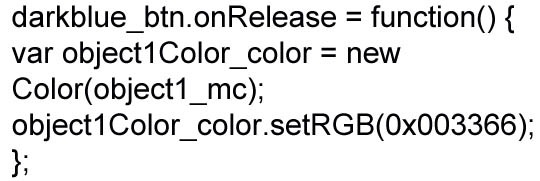
Code 5: this code is for dark blue color button
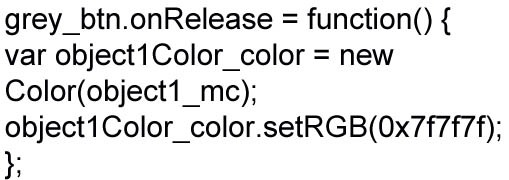
Code 6: this code is for grey color button
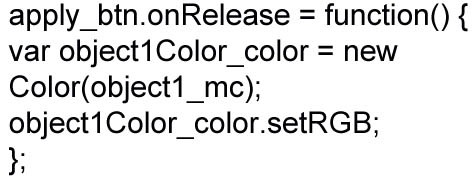
Step 11: This main button is for applying color to the car.
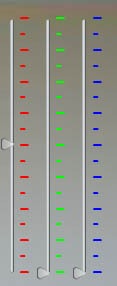
Step 12: This measurement is used to mix the color with the main color for displaying clear look.
Step 13: This scale is used to pin point the color value and range value
Test your Movie (Ctrl+Enter).




Leave a Reply